Slide-Lok's Product Videos
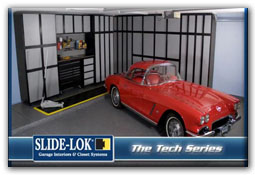
Garage Makeover |
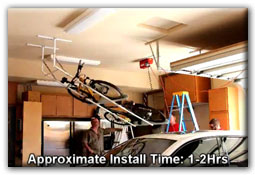
Time-Lapse Bike Lift Install |
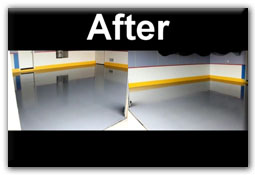
Time-Lapse Floor Install |
Garage Floor Installation |
 |
 |
 |
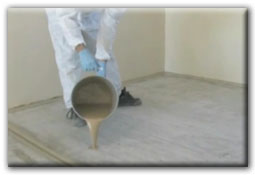 |
Polyaspartic Garage Floor Demonstration / How-to Install |
|---|
Polyaspartic garage floor coating installation demonstration. How to install a garage floor coating step-by-step. Follow closely as this video starts off listing the required materials needed to install our polyaspartic garage floor coating. The process is rather simple, and requires some flooring experience. PLEASE DO NOT ATTEMPT, these are skilled professionals, and we are not responsible for any mistakes you may make. The process begins by analyzing the concrete floor/surface you want to coat for any cracks or small holes that need filling, using a crack repair / filler to fill in the gaps and cracks. If the cracks were not filled evenly use a small hand grinder to grind the filler down to concrete level. Next we use a diamond grinder to grind the entire garage floor surface to peel away the top layer of old rugged concrete, thus we expose a fresh layer of porous concrete that will fully absorb our polyaspartic coating giving it exellent adhesion and strength. After diamond grinding, you need to brush, sweep, and use a leaf blower to push out the remaining concrete dust. You are now ready to begin mixing some polyaspartic floor chemicals 1:1 and adding pigment of your customers' preference. We begin coating by "cutting" in the edges of the floors and any dividers/joints the floor may have. Upon completeing the "cutting" in process we are ready to begin pouring some material on the floor and start rolling the material on the floor. This is where it gets tricky, if you do not roll fast enough you will leave roller marks behind. Immediately upon completing the second coat, if your customer wants chips, this is where you hustle to disperse/throw the chips / flake / fleck onto the floor. After about 1-1.5hrs you are ready to scrape the chips and collect the leftovers. Upon leaf blowing the garage of the remaining chips, you are ready for a final clear coat. Congratulations, you're done! |

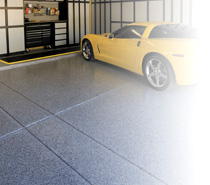 When you purchase garage floor coatings from Slide-Lok, you get the excellent service that you'd expect from doing business with the leader in the garage interiors market.